网站日志查询系统营销管理
文章目录
- 一、需求概述
- 二、基本授权登录功能实现
- 1、授权服务器开发
- 2、客户端开发
- 3、功能测试
- 三、自定义授权服务器登录页
- 1、授权服务器开发
- 2、功能测试
- 四、自定义授权服务器授权页
- 1、授权服务器开发
- 2、功能测试
- 五、客户端信息保存数据库
- 1、授权服务器开发
- 2、功能测试
一、需求概述


maven需要3.6.0以上版本
二、基本授权登录功能实现
1、授权服务器开发
- 1、pom依赖
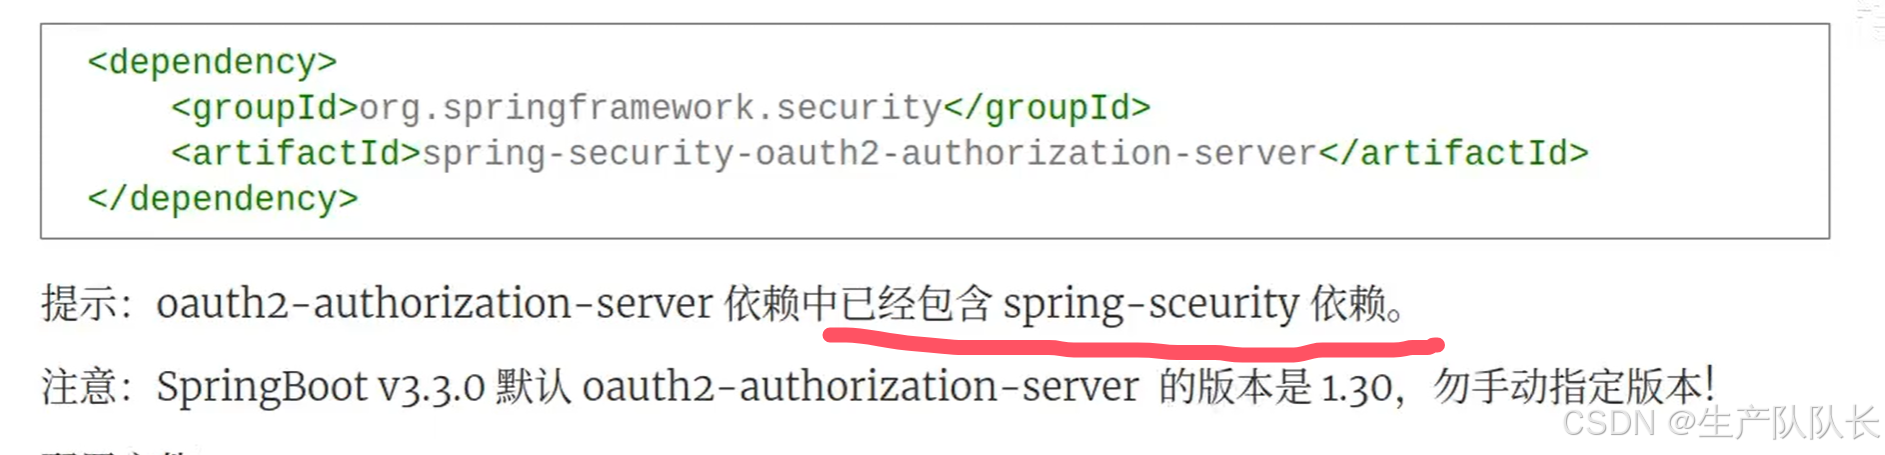
<dependency><groupId>org.springframework.security</groupId><artifactId>spring-security-oauth2-authorization-server</artifactId></dependency>
- 2、yml配置
server:port: 9000logging:level:org.springframework.security: tracespring:security:# 授权服务器的账号密码user:name: adminpassword: 1111oauth2:authorizationserver:# 客户端配置client:myclient:registration:client-id: pzjclient-secret: "{noop}123456"client-authentication-methods:- "client_secret_basic"authorization-grant-types:- "authorization_code"- "refresh_token"# 客户端的回调地址redirect-uris:- "http://localhost:8080/login/oauth2/code/myclient"# 客户端的应用首页post-logout-redirect-uris:- "http://localhost:8080/"scopes:- "openid"- "profile"require-authorization-consent: true- 3、启动服务端
2、客户端开发
- 1、pom依赖
<!-- spring security 安全认证 --><dependency><groupId>org.springframework.boot</groupId><artifactId>spring-boot-starter-security</artifactId></dependency><!-- oauth2 客户端 --><dependency><groupId>org.springframework.boot</groupId><artifactId>spring-boot-starter-oauth2-client</artifactId></dependency>
- 2、yml配置
# Spring配置
spring:security:oauth2:client:registration:myclient:provider: sasclient-id: pzjclient-secret: 123456# 重定向的url地址,这个地址为默认的redirect-uri: http://localhost:8080/login/oauth2/code/myclientauthorization-grant-type: "authorization_code"scope:- openid- profileprovider:sas:# 以下地址是默认配置在 AuthorizationServerSettings builder方法中# 授权服务器地址authorization-uri: http://oauth2-server:9000/oauth2/authorize# 获取token的地址token-uri: http://oauth2-server:9000/oauth2/token# 用于验证JWT签名的、oauth2授权服务器的公钥集合jwk-set-uri: http://oauth2-server:9000/oauth2/jwks- 3、SecurityConfig
@EnableWebSecurity
@Configuration
public class SecurityConfig {@Beanprotected SecurityFilterChain filterChain(HttpSecurity http) throws Exception{http.authorizeHttpRequests(auth -> auth.anyRequest().authenticated());http.oauth2Login(Customizer.withDefaults());return http.build();}
}
- 4、接口
@RestController
public class HelloController {@GetMapping("/hello")public String hello(){return "<h1>hello,spring authorization server!</h1>";}
}
3、功能测试
浏览器访问:http://localhost:8080/hello
会跳转到

点击浏览器的×,进入登陆页

登陆后,进入授权确认页面

点击submit按钮,就会访问到我们的hello接口

三、自定义授权服务器登录页
1、授权服务器开发
- root pom
<dependency><groupId>org.springframework.boot</groupId><artifactId>spring-boot-starter-thymeleaf</artifactId></dependency>
- SecurityConfig
@EnableWebSecurity
@Configuration
public class SecurityConfig {/*** 开启自定义登录页* @param http* @return* @throws Exception*/@Beanprotected SecurityFilterChain filterChain(HttpSecurity http) throws Exception{http.authorizeHttpRequests(auth -> auth.anyRequest().authenticated());http.formLogin(form -> form.loginPage("/login").loginProcessingUrl("/login").permitAll());return http.build();}
}
- controller接口
@Controller
public class LoginController {@GetMapping("/login")public String login(){return "login";}
}
- login.html 页面
<!DOCTYPE html>
<html lang="en" xmlns:th="https://www.thymeleaf.org">
<head><meta charset="UTF-8"><title>授权服务器登陆页</title>
</head>
<body>
<h2>Spring授权服务器登陆</h2>
<form th:action = "@{/login}" method="post">用户名:<input type="text" name="username"/><br>密码:<input  type="text" name="password"/><br><input type="submit" value="登陆"><input type="reset" value="取消">
</form>
</body>
</html>
2、功能测试
访问:http://localhost:8080/hello,会自动跳转到授权服务器的登录页

四、自定义授权服务器授权页
1、授权服务器开发
- SecurityConfig
/*** 自定义授权所需配置,否则无法正常转到授权页* @param http* @return* @throws Exception*/@Beanprotected SecurityFilterChain serverFilterChain(HttpSecurity http) throws Exception{// 授权服务器的安全交给security管理OAuth2AuthorizationServerConfiguration.applyDefaultSecurity(http);// 自定义授权服务器的配置http.getConfigurer(OAuth2AuthorizationServerConfigurer.class)//使用自定义授权页.authorizationEndpoint(auth -> auth.consentPage("/consent"))// 启用oidc.oidc(Customizer.withDefaults());//未认证的请求重定向到 login 页http.exceptionHandling(e -> e.authenticationEntryPoint(new LoginUrlAuthenticationEntryPoint("/login")));return http.build();}
- controller接口
@Controller
public class ConsentController {@Resourceprivate RegisteredClientRepository registeredClientRepository;@GetMapping("/consent")public String consent(HttpServletRequest request, Principal principal,@RequestParam(OAuth2ParameterNames.CLIENT_ID) String clientId,@RequestParam(OAuth2ParameterNames.STATE) String state){//获取认证的用户nameString principalName = principal.getName();//根据客户端ID获取客户端应用RegisteredClient registeredClient = registeredClientRepository.findByClientId(clientId);//获取客户端应用名String clientName = registeredClient.getClientName();//获取回调地址String redirectUri = registeredClient.getRedirectUris().iterator().next();//获取scopesSet<String> scopes = registeredClient.getScopes();request.setAttribute("principalName",principalName);request.setAttribute("clientName",clientName);request.setAttribute("clientId",clientId);request.setAttribute("state",state);request.setAttribute("scopes",scopes);return "consent";}
- consent.html 页面
<!DOCTYPE html>
<html lang="en"  xmlns:th="https://www.thymeleaf.org">
<head><meta charset="UTF-8"><title>授权确认</title>
</head>
<body>
<h2>自定义授权确认页</h2>
<form th:action="@{/oauth2/authorize}" method="post"><div><span th:text="${clientName}" style="font-style: italic;color: blue"></span>希望获取账号<span th:text="${principalName}" style="font-style: italic;color: blue"></span>的以下权限:<ol><li th:each="scope:${scopes}"><input type="checkbox" name="scope" th:value="${scope}" checked/><span th:text="${scope}"></span></li></ol></div><input type="hidden" name="client_id" th:value="${clientId}"/><input type="hidden" name="state" th:value="${state}"/><input type="submit" th:value="同意"/>
</form>
</body>
</html>
2、功能测试
访问:http://localhost:8080/hello

五、客户端信息保存数据库
1、授权服务器开发
- SecurityConfig中注入三个DAO实现类
@Beanpublic RegisteredClientRepository registeredClientRepository(JdbcTemplate jdbcTemplate){// 返回基于数据库的 RegisteredClientRepository 接口实现类对象(对应 oauth2_registered_client 表)return new JdbcRegisteredClientRepository(jdbcTemplate);}@Beanpublic OAuth2AuthorizationService oAuth2AuthorizationService(JdbcTemplate jdbcTemplate,RegisteredClientRepository registeredClientRepository){// (对应 oauth2_authorization 表)return new JdbcOAuth2AuthorizationService(jdbcTemplate,registeredClientRepository);}@Beanpublic OAuth2AuthorizationConsentService oAuth2AuthorizationConsentService(JdbcTemplate jdbcTemplate,RegisteredClientRepository registeredClientRepository){// (对应 oauth2_authorization_consent 表)return new JdbcOAuth2AuthorizationConsentService(jdbcTemplate,registeredClientRepository);}
- 创建三张表
SET FOREIGN_KEY_CHECKS=0;-- ----------------------------
-- Table structure for oauth2_authorization
-- ----------------------------
DROP TABLE IF EXISTS `oauth2_authorization`;
CREATE TABLE `oauth2_authorization` (`id` varchar(100) NOT NULL,`registered_client_id` varchar(100) NOT NULL,`principal_name` varchar(200) NOT NULL,`authorization_grant_type` varchar(100) NOT NULL,`authorized_scopes` varchar(1000) DEFAULT NULL,`attributes` blob,`state` varchar(500) DEFAULT NULL,`authorization_code_value` blob,`authorization_code_issued_at` timestamp NULL DEFAULT NULL,`authorization_code_expires_at` timestamp NULL DEFAULT NULL,`authorization_code_metadata` blob,`access_token_value` blob,`access_token_issued_at` timestamp NULL DEFAULT NULL,`access_token_expires_at` timestamp NULL DEFAULT NULL,`access_token_metadata` blob,`access_token_type` varchar(100) DEFAULT NULL,`access_token_scopes` varchar(1000) DEFAULT NULL,`oidc_id_token_value` blob,`oidc_id_token_issued_at` timestamp NULL DEFAULT NULL,`oidc_id_token_expires_at` timestamp NULL DEFAULT NULL,`oidc_id_token_metadata` blob,`refresh_token_value` blob,`refresh_token_issued_at` timestamp NULL DEFAULT NULL,`refresh_token_expires_at` timestamp NULL DEFAULT NULL,`refresh_token_metadata` blob,`user_code_value` blob,`user_code_issued_at` timestamp NULL DEFAULT NULL,`user_code_expires_at` timestamp NULL DEFAULT NULL,`user_code_metadata` blob,`device_code_value` blob,`device_code_issued_at` timestamp NULL DEFAULT NULL,`device_code_expires_at` timestamp NULL DEFAULT NULL,`device_code_metadata` blob,PRIMARY KEY (`id`)
) ENGINE=InnoDB DEFAULT CHARSET=utf8;-- ----------------------------
-- Table structure for oauth2_authorization_consent
-- ----------------------------
DROP TABLE IF EXISTS `oauth2_authorization_consent`;
CREATE TABLE `oauth2_authorization_consent` (`registered_client_id` varchar(100) NOT NULL,`principal_name` varchar(200) NOT NULL,`authorities` varchar(1000) NOT NULL,PRIMARY KEY (`registered_client_id`,`principal_name`)
) ENGINE=InnoDB DEFAULT CHARSET=utf8;-- ----------------------------
-- Table structure for oauth2_registered_client
-- ----------------------------
DROP TABLE IF EXISTS `oauth2_registered_client`;
CREATE TABLE `oauth2_registered_client` (`id` varchar(100) NOT NULL,`client_id` varchar(100) NOT NULL,`client_id_issued_at` timestamp NOT NULL DEFAULT CURRENT_TIMESTAMP,`client_secret` varchar(200) DEFAULT NULL,`client_secret_expires_at` timestamp NULL DEFAULT NULL,`client_name` varchar(200) NOT NULL,`client_authentication_methods` varchar(1000) NOT NULL,`authorization_grant_types` varchar(1000) NOT NULL,`redirect_uris` varchar(1000) DEFAULT NULL,`post_logout_redirect_uris` varchar(1000) DEFAULT NULL,`scopes` varchar(1000) NOT NULL,`client_settings` varchar(2000) NOT NULL,`token_settings` varchar(2000) NOT NULL,PRIMARY KEY (`id`)
) ENGINE=InnoDB DEFAULT CHARSET=utf8;- 通过
springboot test,创建数据库数据
@SpringBootTest
public class ServerTestApp {@Resourceprivate RegisteredClientRepository registeredClientRepository;@Testpublic void saveClient(){RegisteredClient client = RegisteredClient.withId(UUID.randomUUID().toString())
//				客户端ID	clientId.clientId("pzj")
//				客户端secret	clientSecret.clientSecret("{bcrypt}"+new BCryptPasswordEncoder().encode("123456"))
//				客户端应用名	clientName.clientName("myclient")
//				客户端身份的验证方法	clientAuthenticationMethods.clientAuthenticationMethods(methods -> methods.add(ClientAuthenticationMethod.CLIENT_SECRET_BASIC))
//				授权类型	authorizationGrantTypes.authorizationGrantTypes(types -> {types.add(AuthorizationGrantType.AUTHORIZATION_CODE);types.add(AuthorizationGrantType.REFRESH_TOKEN);})
//				客户端应用回调地址.redirectUris(uris -> uris.add("http://localhost:8080/login/oauth2/code/myclient"))
//				客户端应用首页地址	postLogoutRedirectUris.postLogoutRedirectUris(uris -> uris.add("http://localhost:8080"))
//				授权范围	scopes.scopes(scopes -> {scopes.add("openid");scopes.add("profile");})
//				客户端settings	clientSettings.clientSettings(ClientSettings.builder().requireAuthorizationConsent(true).build()).build();registeredClientRepository.save(client);}
}
- 注释application.yml的client配置

2、功能测试
访问:http://localhost:8080/hello
操作同上,观察数据库数据


工程名:authorization-project