网站建设服务协议东莞网络营销渠道
最近在学习QT,也初探到qml 做ui 的灵活性与强大,于是手痒痒,做个demo 记录下学习成果
主要内容是如何自己编写一个按钮以及qml多窗口。
参考WX桌面版,做一个登录界面,这里面按钮是写的一个组合控件,有 按下,释放,以及正常 三种状态。
import QtQuick 2.0
import QtQuick.Controls 2.4Rectangle
{id:rootwidth:400height:50radius:6property alias text:rect_text.textproperty alias tip_text:btn_tip.textstate: rect_mouse.pressed ? "pressed" : (rect_mouse.containsMouse ? "hovered" : "normal")//使用方可以处理这个信号来相应按钮点击signal btnclickedText{id:rect_textfont.pointSize: 16font.bold: truecolor:"#ffffff"anchors.horizontalCenter:parent.horizontalCenteranchors.verticalCenter: parent.verticalCenteranchors.verticalCenterOffset: 0}ToolTip{id:btn_tipfont.pointSize: 14delay: 500timeout: 2000x:parent.width/2y:parent.height}states: [State {name: "pressed"PropertyChanges { target: root; color: "#01968c" }},State {name: "normal"PropertyChanges { target: root; color: "#00beac" }},State {name: "hovered"PropertyChanges { target: root; color: "#20c9b3" }}]MouseArea{id:rect_mouseanchors.fill: parenthoverEnabled: true //是否处理悬浮事件,默认false,只有按下鼠标键时才处理鼠标事件,为true时即使没有按下鼠标键也会作相应的处理preventStealing:true//默认为false,为true时可以防止当前鼠标事件被其它对象拦截。propagateComposedEvents:true//默认为 false,当设置为 true 时,就可以将事件传递给重叠的其他鼠标区域了enabled: truecursorShape: Qt.PointingHandCursoronPressed:{rect_text.anchors.verticalCenterOffset = 2state = "pressed"}onEntered:{if(btn_tip.text != ""){btn_tip.x = mouseXbtn_tip.y = mouseYbtn_tip.open()console.log(btn_tip.x,btn_tip.y)}state = "hovered"}onReleased:{if(rect_mouse.containsMouse)//鼠标在按钮范围才有效root.btnclicked()rect_text.anchors.verticalCenterOffset = 0state = "hovered"}onExited://鼠标离开时关闭{btn_tip.close()state = "normal"}
//        onClicked: {
//            //btnclicked()
//        }}
}
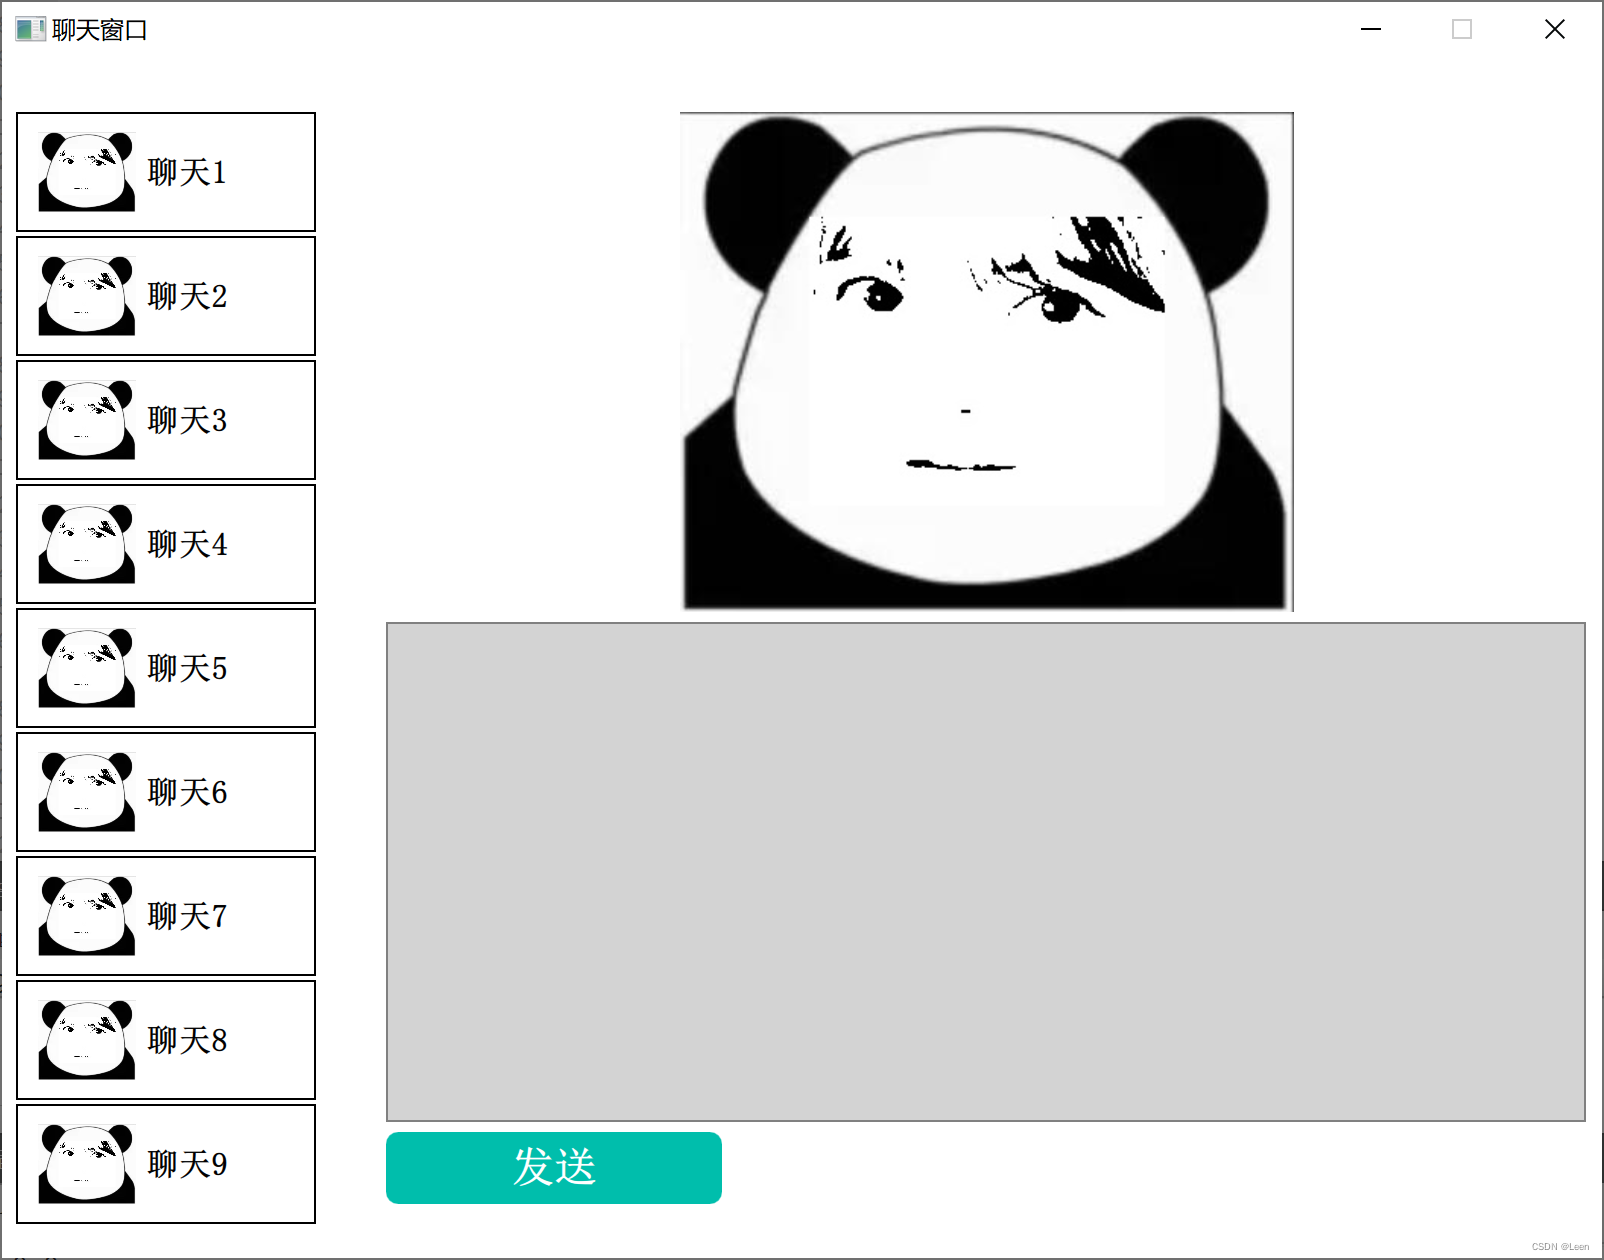
然后在新增一个ChatDlg.qml文件,里面写一个window 当作是登陆后的主界面
import QtQuick 2.9
import QtQuick.Window 2.2
import QtQuick.Controls 2.9Window {id: chatWindowvisible: truewidth: 800height: 600minimumWidth: 250minimumHeight: 150maximumWidth: 1000maximumHeight: 600color: "white"title: qsTr("聊天窗口")Row{id: layoutRanchors.centerIn: parentspacing: 5 //行或列的像素间隔Column {ListView {id: chatGroupwidth: 180height: 500//anchors.verticalCenter:   parent.verticalCentermodel: ["聊天1","聊天2","聊天3","聊天4","聊天5","聊天6","聊天7","聊天8","聊天9","聊天10","聊天11"]spacing: 2delegate: MyIconButton {btn_txt: modelData}}}Column {id: layoutC//anchors.centerIn: parentspacing: 5 //行或列的像素间隔Image {id: m_Logowidth: 600height: 250anchors.left: chatGroup.rightfillMode: Image.PreserveAspectFit   //保持宽高比source: "/new/img/048.jpg.emoji.jpg"//anchors.verticalCenter:   parent.verticalCenter}Rectangle {width: 600height: 250color: "lightgrey"border.color: "grey"TextEdit {id: m_Inputwidth: 600height: 250//color: "#20c9b3"//anchors.top: m_Logo.bottom//anchors.horizontalCenter:   parent.horizontalCenter//anchors.verticalCenter:   parent.verticalCenter//anchors.left: chatGroup.right//anchors.leftMargin: 5}}//登录按钮MyButton {id: btnSendwidth: 168height: 36text: "发送"//tip_text: ""enabled: trueonBtnclicked: {//showAni.start()}}}}}
登录窗口设计如下:
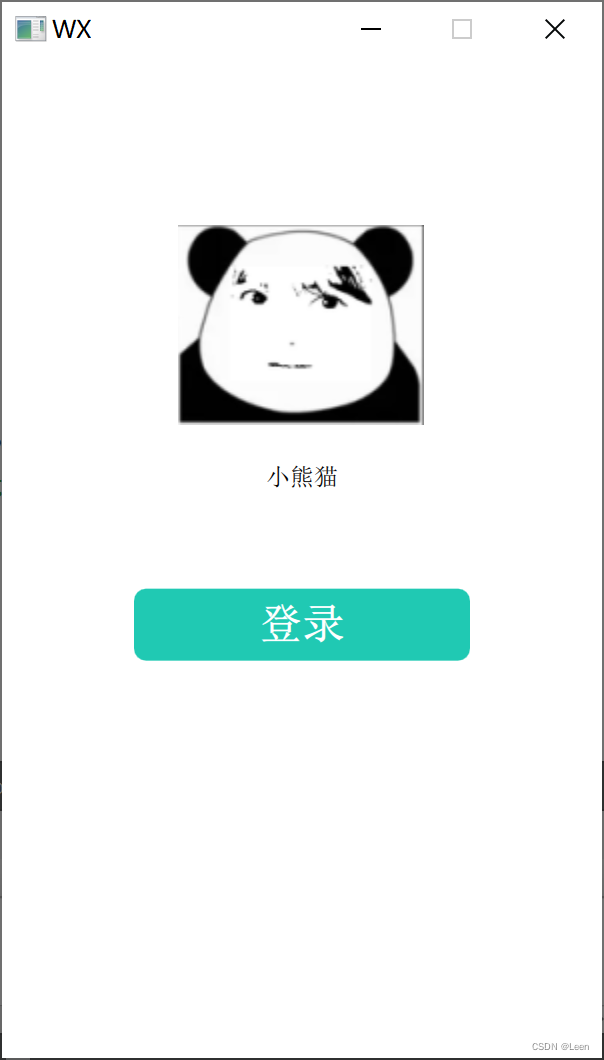
import QtQuick 2.9
import QtQuick.Window 2.2
import QtQuick.Controls 2.4Window {id: mainWindvisible: truewidth: 300height: 500minimumWidth: 250minimumHeight: 150maximumWidth: 1000maximumHeight: 600color: "white"title: qsTr("WX")//头像Image {id: m_LogosourceSize.height: 100sourceSize.width: 100fillMode: Image.PreserveAspectFit   //保持宽高比source: "/new/img/048.jpg.emoji.jpg"anchors.horizontalCenter: parent.horizontalCentery: parent.height/6}Text {id: nametext: qsTr("小熊猫")anchors.horizontalCenter: parent.horizontalCenteranchors.top: m_Logo.bottomanchors.topMargin: 20}//登录后弹出聊天主界面ChatDlg {id: chatDialogvisible: false}//登录按钮MyButton {id: btn1width: 168height: 36text: "登录"tip_text: "Login your account"anchors.horizontalCenter: parent.horizontalCenteranchors.top: name.bottomanchors.topMargin: 50onBtnclicked: {chatDialog.visible = truemainWind.visible = false//showAni.start()}}
}
按下登录按钮后弹出主界面,隐藏登录界面
你学废了吗?