保定网站制作报价计算机培训机构
系列文章
- IntelliJ IDE 插件开发 |(一)快速入门
- IntelliJ IDE 插件开发 |(二)UI 界面与数据持久化
- IntelliJ IDE 插件开发 |(三)消息通知与事件监听
- IntelliJ IDE 插件开发 |(四)来查收你的 IDEA 使用报告吧
- IntelliJ IDE 插件开发 |(五)VFS 与编辑器
前言
在前几篇文章中主要介绍了关于 IntelliJ IDE 插件开发的基础知识,这部分内容对开发一些小功能的插件的开发已经足够。不过,如果想要开发一些与具体编程语言相关的、提升开发效率的插件(例如MybatisX),那么前几篇的内容就不足以支撑了。而从本篇开始,则会介绍实现相关功能所需要的知识: VFS、编辑器、PSI、自定义语言等,最后再以两三个插件的实战开发(例如老生常谈的代码生成)进行结尾,本文涉及到的完整代码已上传到GitHub。
VFS(Virtual File System)
VFS(虚拟文件系统)可以看作是 IntelliJ 平台对各种类型(本地磁盘的文件、DIFF 信息文件、远程文件)文件操作的封装,通过提供一致的 API 以及文件变更事件,让开发人员可以专注于对文件的处理。此外之所以使用虚拟二字,也是因为我们在对文件操作时并没有直接修改源文件,而是修改了源文件所对应的快照,然后 VFS 会通过同步或者异步的方式去修改源文件。关于 VFS 主要有以下注意点:
-
文件快照是应用级别的,因此一个文件即使被多个项目使用也只会对应一份快照。
-
文件快照内容和源文件内容并非实时对应,例如文件已从资源管理器中删除,但 IntelliJ 平台只有接收并处理了文件删除事件后才会从快照中删除指定文件。
-
VFS 通过操作系统的 File Watcher 去感知文件的变化(基于时间戳),可以通过下述步骤去查看被监听的文件根节点:
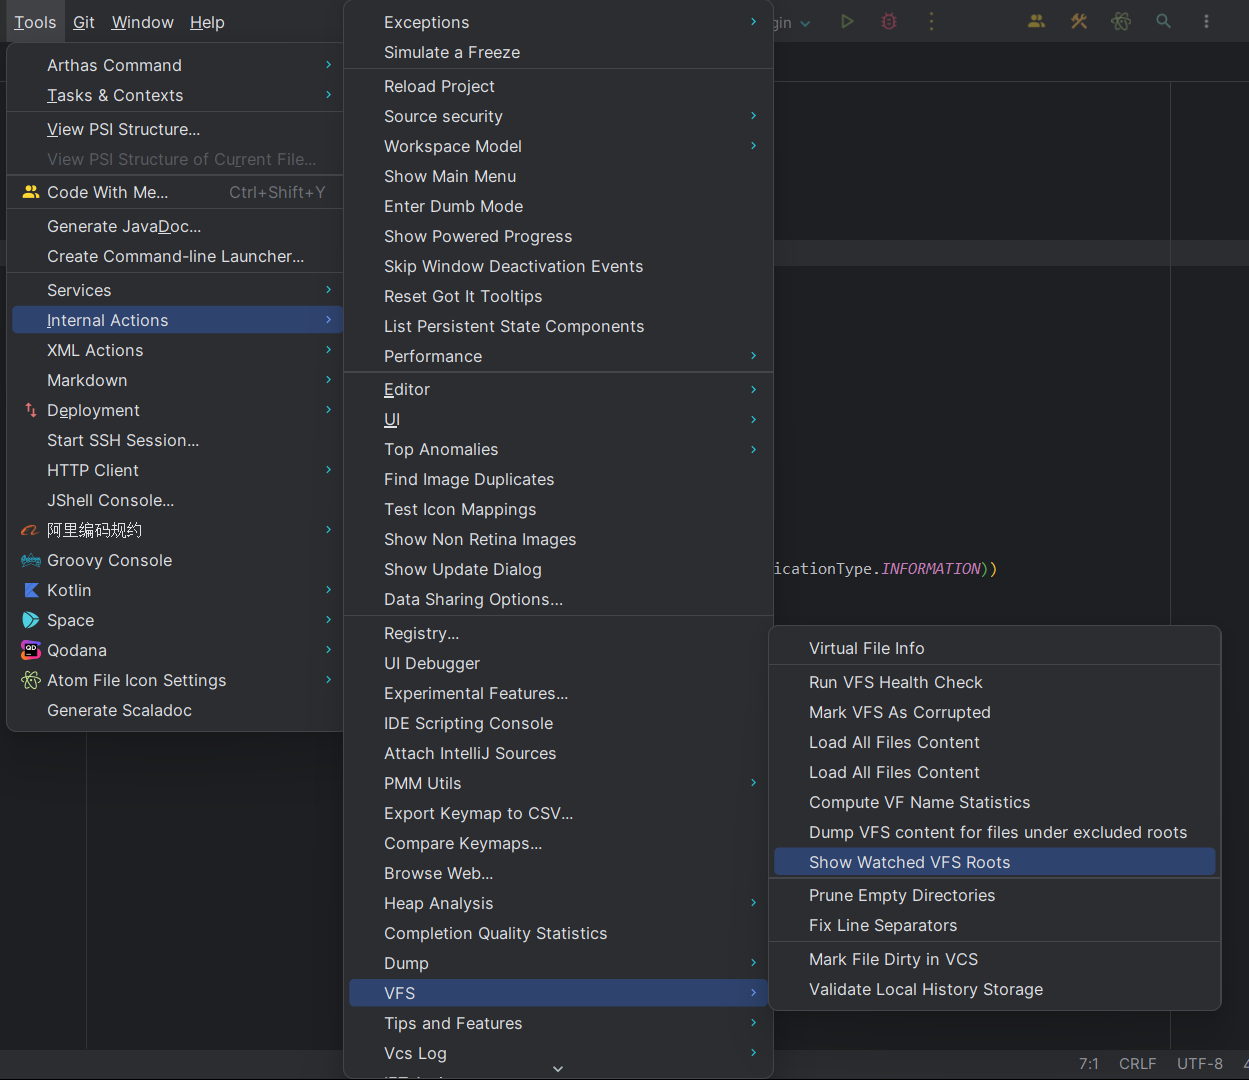

-
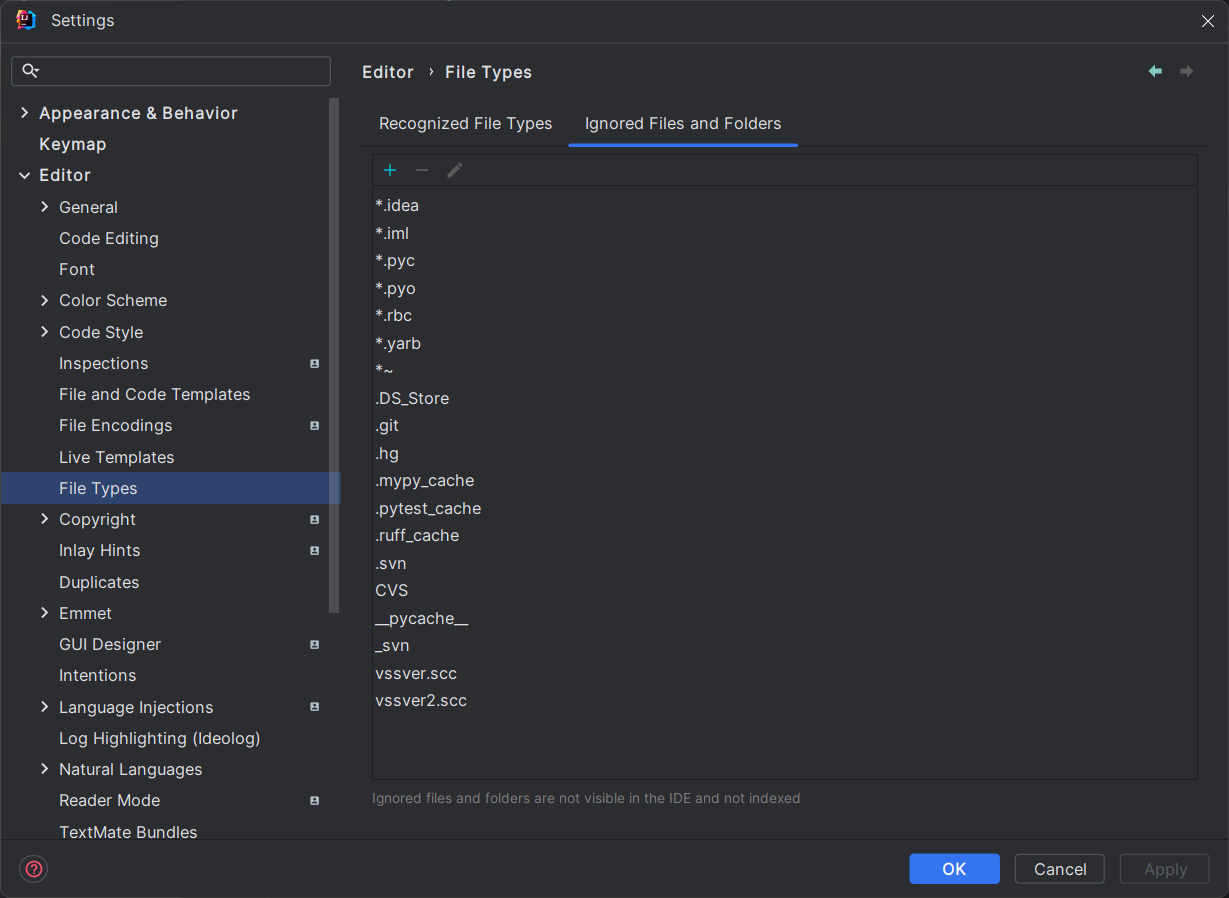
如果在代码中访问了被忽略的文件(例如下图中配置的),VFS 就会直接加载并返回文件的内容而非是快照的内容:
-
如果需要保证代码是在文件刷新后完成,则可以使用以下方式:
val virtualFile = e.getData(PlatformDataKeys.VIRTUAL_FILE)
virtualFile?.let {it.refresh(true, true) {// 文件刷新完成}
}
refresh 的方法签名如下,第三个参数 postRunnable 用于传递我们要执行的代码:
/*** The same as {@link #refresh(boolean, boolean)} but also runs {@code postRunnable}* after the operation is completed. The runnable is executed on event dispatch thread inside write action.*/
public abstract void refresh(boolean asynchronous, boolean recursive, @Nullable Runnable postRunnable);
获取 VirtualFile 对象的方式
以下内容来自官网:
| Context | API |
|---|---|
| Action | AnActionEvent.getData(PlatformDataKeys.VIRTUAL_FILE) AnActionEvent.getData(PlatformDataKeys.VIRTUAL_FILE_ARRAY) for multiple selection |
| Document | FileDocumentManager.getFile() |
| PSI File | PsiFile.getVirtualFile()(may return null if the PSI file exists only in memory) |
| File Name | FilenameIndex.getVirtualFilesByName() |
| Local File System Path | LocalFileSystem.findFileByIoFile() VirtualFileManager.findFileByNioPath()/refreshAndFindFileByNioPath() (2020.2+) |
在上面的示例中就是使用的第一种方式:AnActionEvent.getData(PlatformDataKeys.VIRTUAL_FILE) 。
VirtualFile 在文件的基础内容上还增加了类型、文件系统等扩展信息:
class VFSAction : AnAction() {override fun actionPerformed(e: AnActionEvent) {val virtualFile = e.getData(PlatformDataKeys.VIRTUAL_FILE)virtualFile?.let {it.refresh(true, true) {// 文件刷新完成Utils.info("""文件路径: ${it.path}文件类型: ${it.fileType}文件系统: ${it.fileSystem}文件后缀: ${it.extension}文件时间戳: ${it.timeStamp}""".trimIndent())}}}
}
监听文件变更事件
只需要在项目启动监听中注册我们的文件变更监听事件即可:
class ProjectStartListener: ProjectActivity {override suspend fun execute(project: Project) {project.messageBus.connect().subscribe(VirtualFileManager.VFS_CHANGES, object : BulkFileListener {override fun after(events: MutableList<out VFileEvent>) {for (event in events) {Utils.info("变更的文件: ${event.file?.path}")}}})}}
VFS 的监听是应用级别,因此当打开多个项目的时候,每个项目中的文件变更事件都会被所有的项目共享,因此需要注意对文件进行过滤处理。
通过以上简单的代码我们就可以获取所有的文件变更事件,做我们想做的事了(例如统一在文件前增加版权信息)。
编辑器
在第四篇文章中为了实现对用户的编码活动的统计,我们简单使用了 Editor 对象,主要是对其文档和光标活动的监听。而本文文章则会详细介绍关于 Editor 中的一些基础概念,主要是几个模型对象和文档对象,在正式介绍前,先说一下获取 Editor 对象的两种方式:
// 通过 project 获取
var editor = FileEditorManager.getInstance(project).selectedEditor
// 通过 Action 的事件对象获取
val editor = e.getData(PlatformDataKeys.EDITOR)
下面正式开始介绍 Editor 中的一些对象
Document
document 对象主要提供了获取和替换文件文本的一些方法(还可以添加对文档内容的监听):
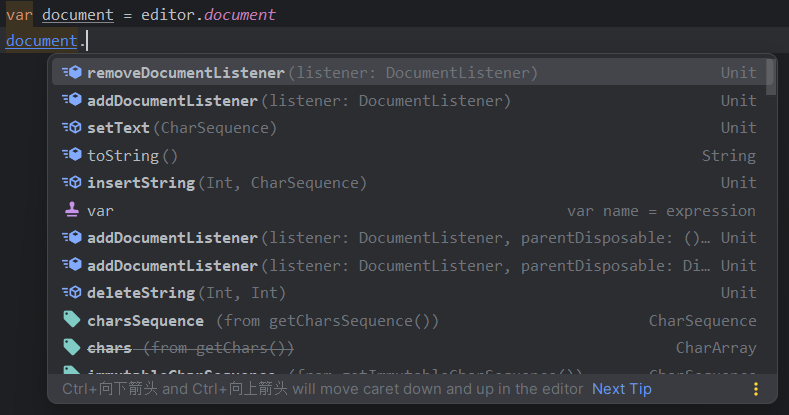
下面会结合模型对象介绍其使用。
CaretModel(插入符模型)
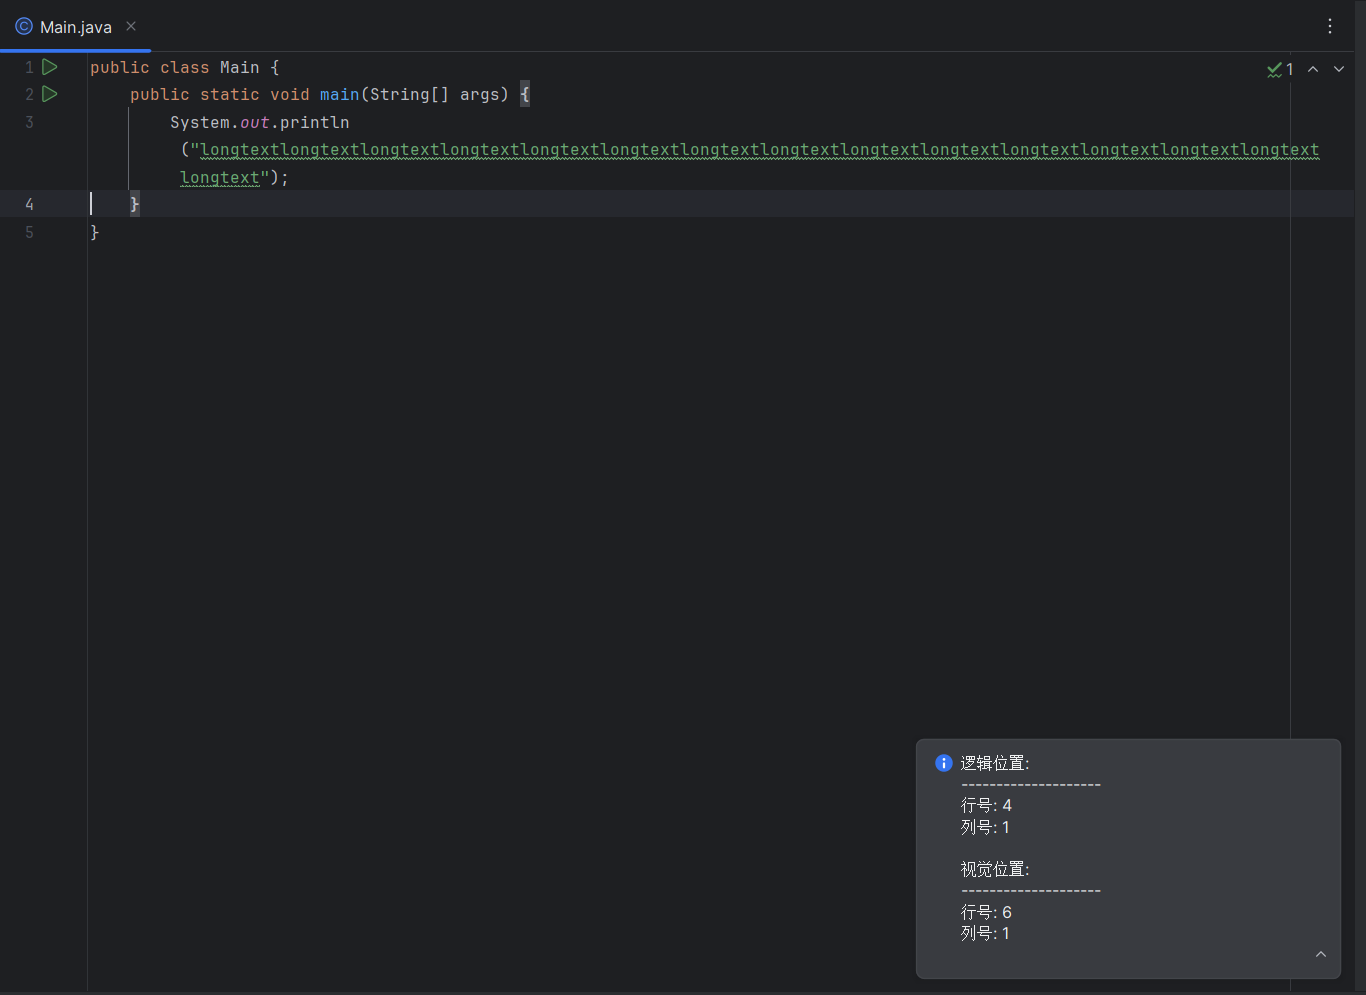
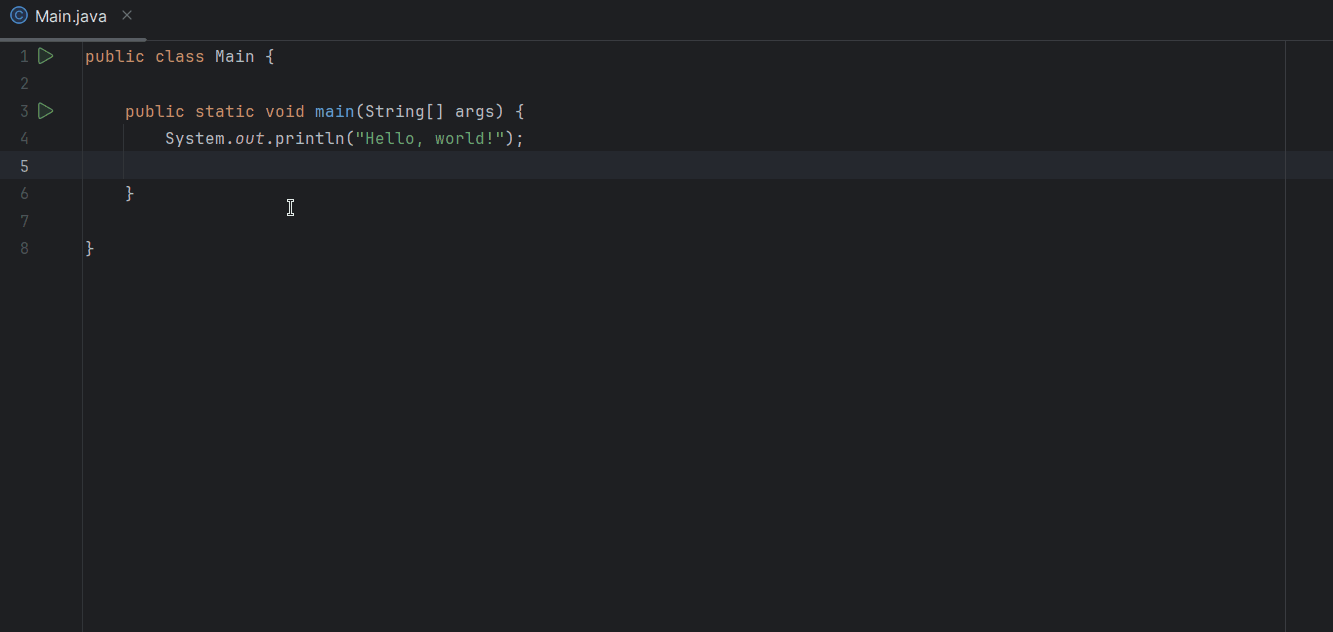
CaretModel(插入符模型) 用于获取编辑器中光标所处的位置,如果细分还可以分为 Logical Position(逻辑位置)和 Visual Position(视觉位置)。下面以一个简单的代码样例展示区别:
val editor = e.getData(PlatformDataKeys.EDITOR) ?: return
val caretModel = editor.caretModel
Utils.info("""逻辑位置:<br/>${"-".repeat(20)}<br/>行号: ${caretModel.logicalPosition.line + 1}<br/>列号: ${caretModel.logicalPosition.column + 1}<br/><br/>视觉位置:<br/>${"-".repeat(20)}<br/>行号: ${caretModel.visualPosition.line + 1}<br/>列号: ${caretModel.visualPosition.column + 1}<br/>
""".trimIndent())
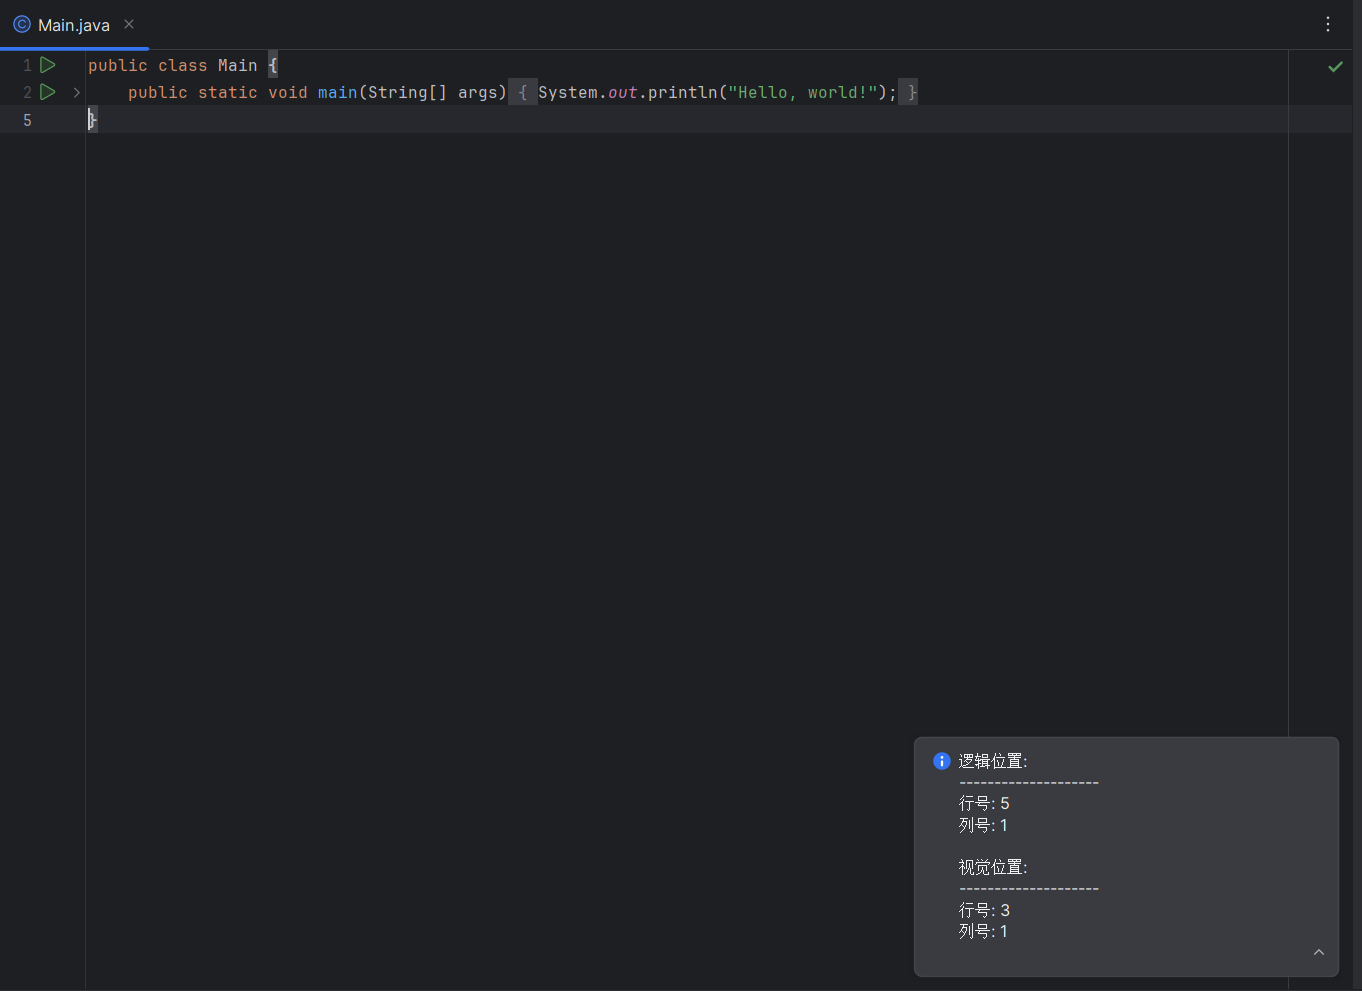
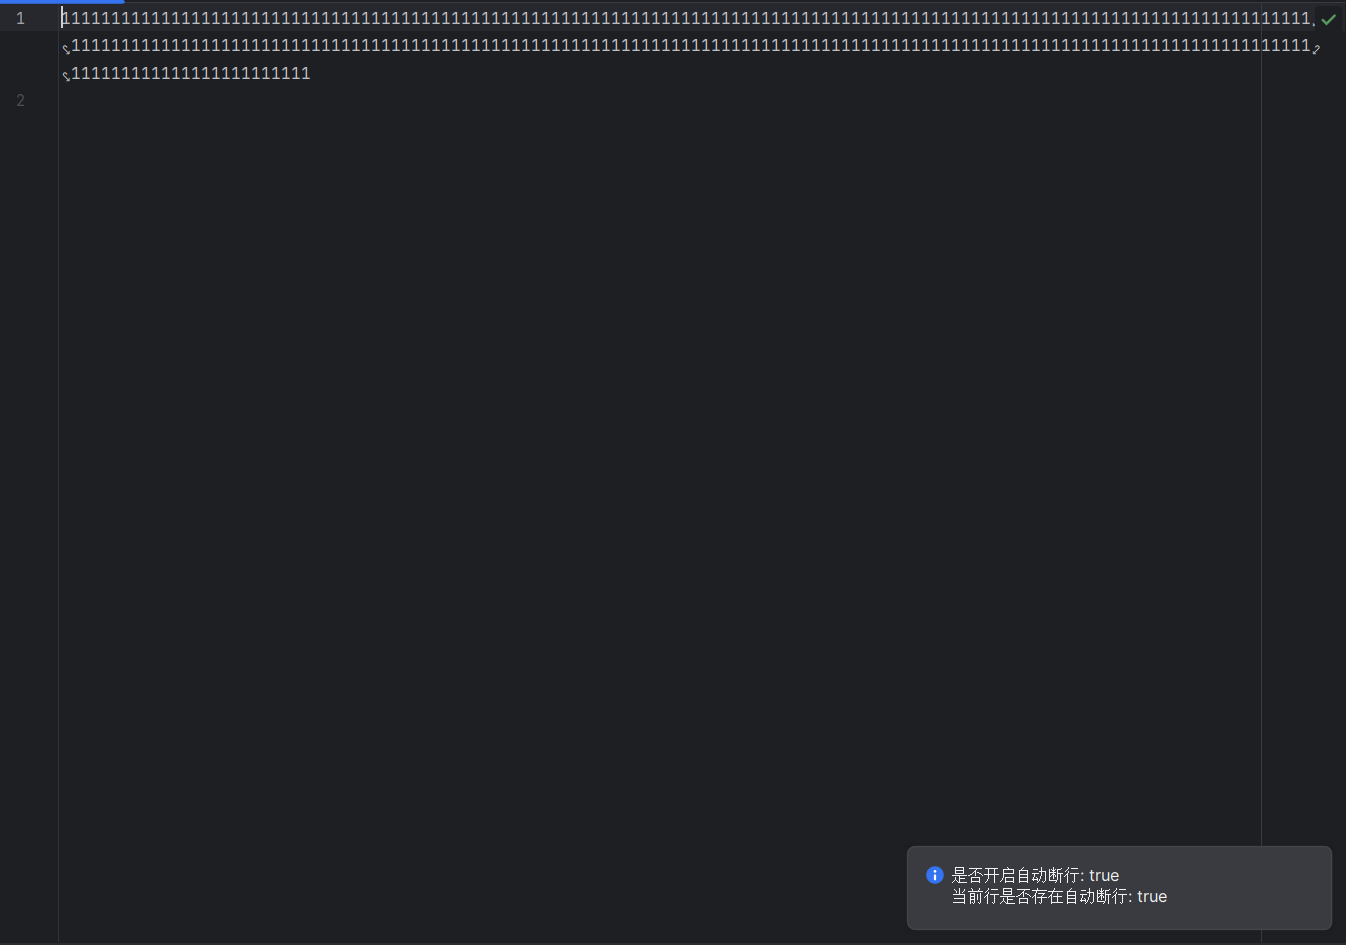
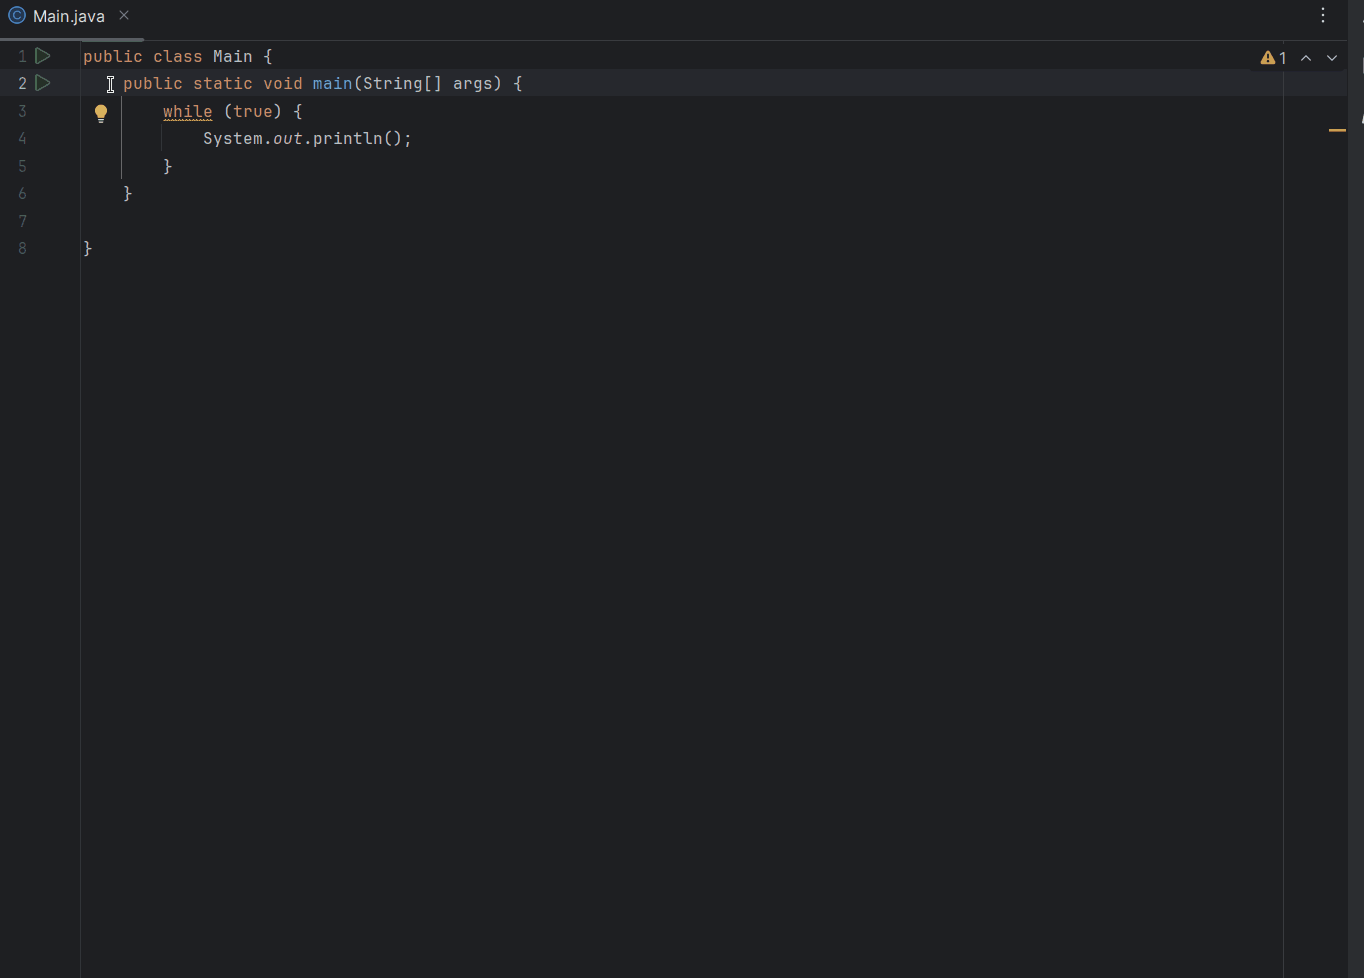
可以看出来逻辑位置对应光标在文件中所处的真实位置(5 行 1 列),而视觉位置则如表面意思,由于存在折叠代码块(中间3行),所以行号为 3。除此之外,可以看到上述代码中,不管是caretModel.logicalPosition还是caretModel.visualPosition在获取行号和列号的时候都在结果加 1,这是因为行号和列号在代码中是从 0 开始计算。这里要注意的是,上面的折叠代码只是影响视觉位置结果的一种情况,如果文件开启自动断行(Soft-Wrap line),也同样会影响视觉位置的结果:
使用类似阿拉伯语这种右向文字也会影响逻辑位置和视觉位置的结果。
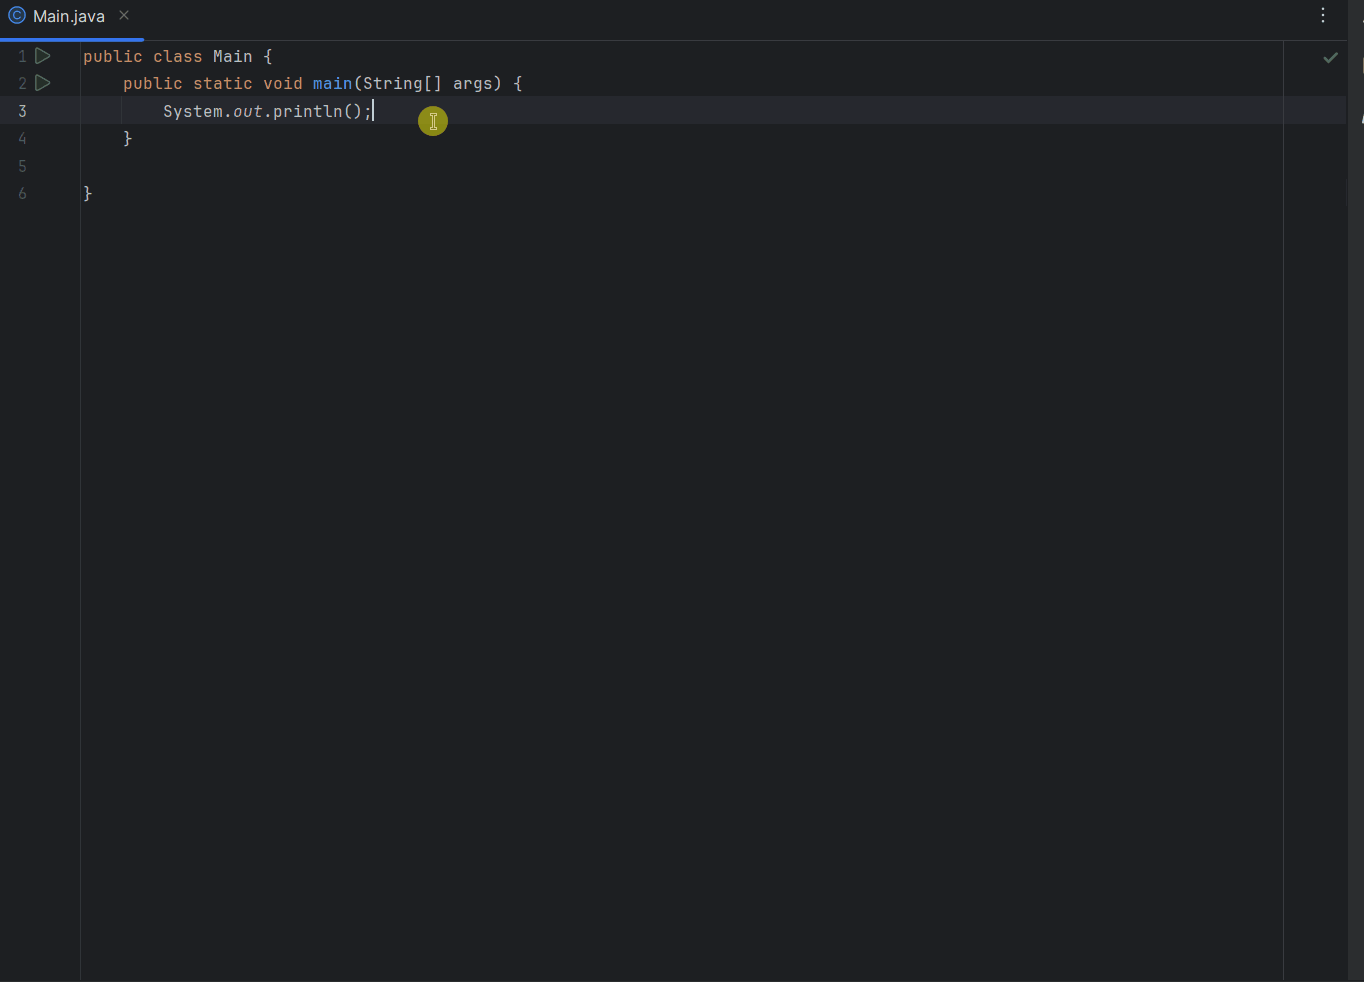
除了以上两种定位方式,我们还可以通过caretModel.offset直接获取光标所在位置的全局偏移量:
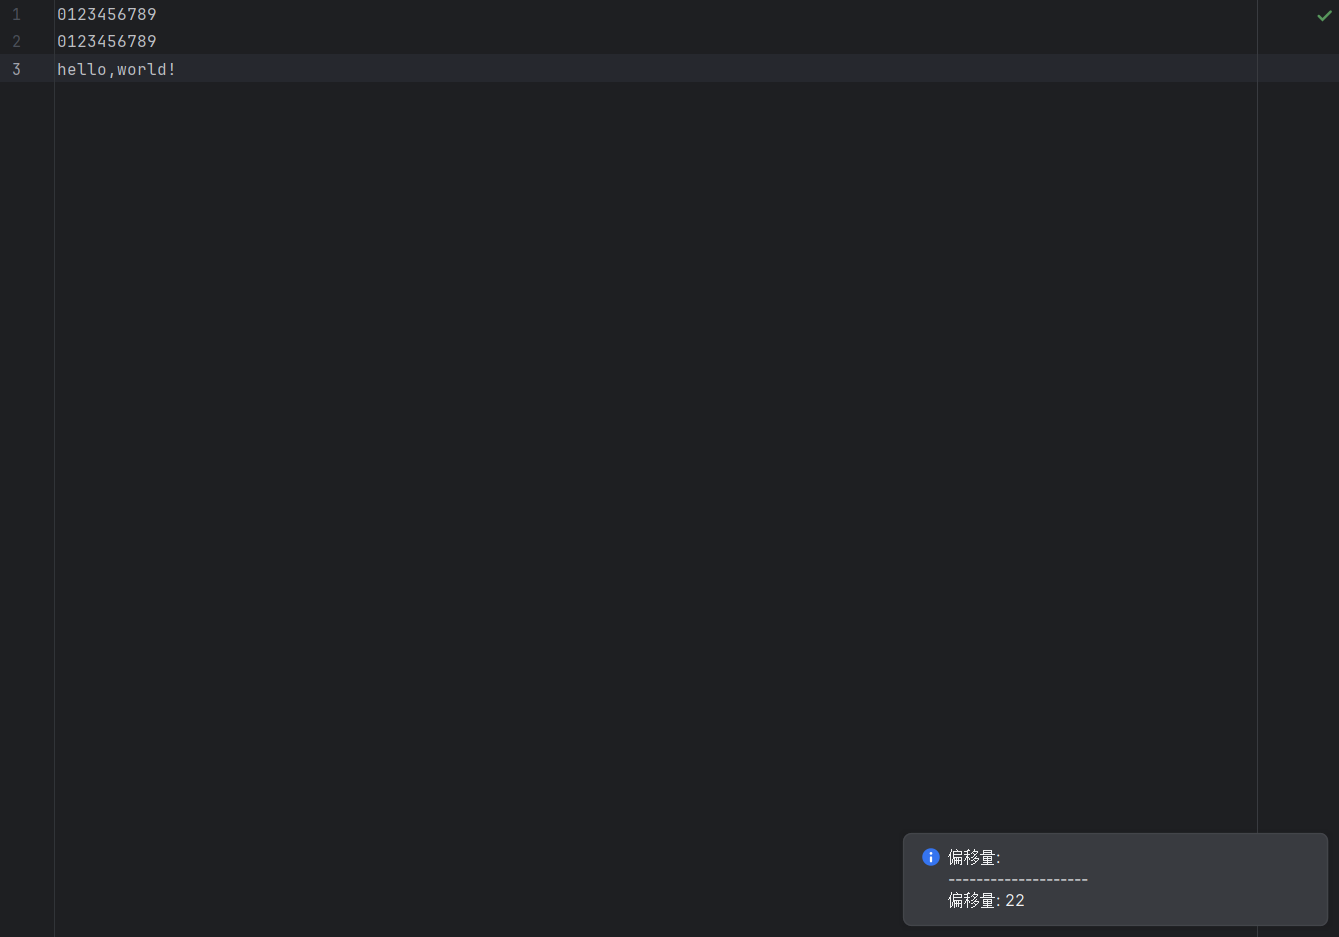
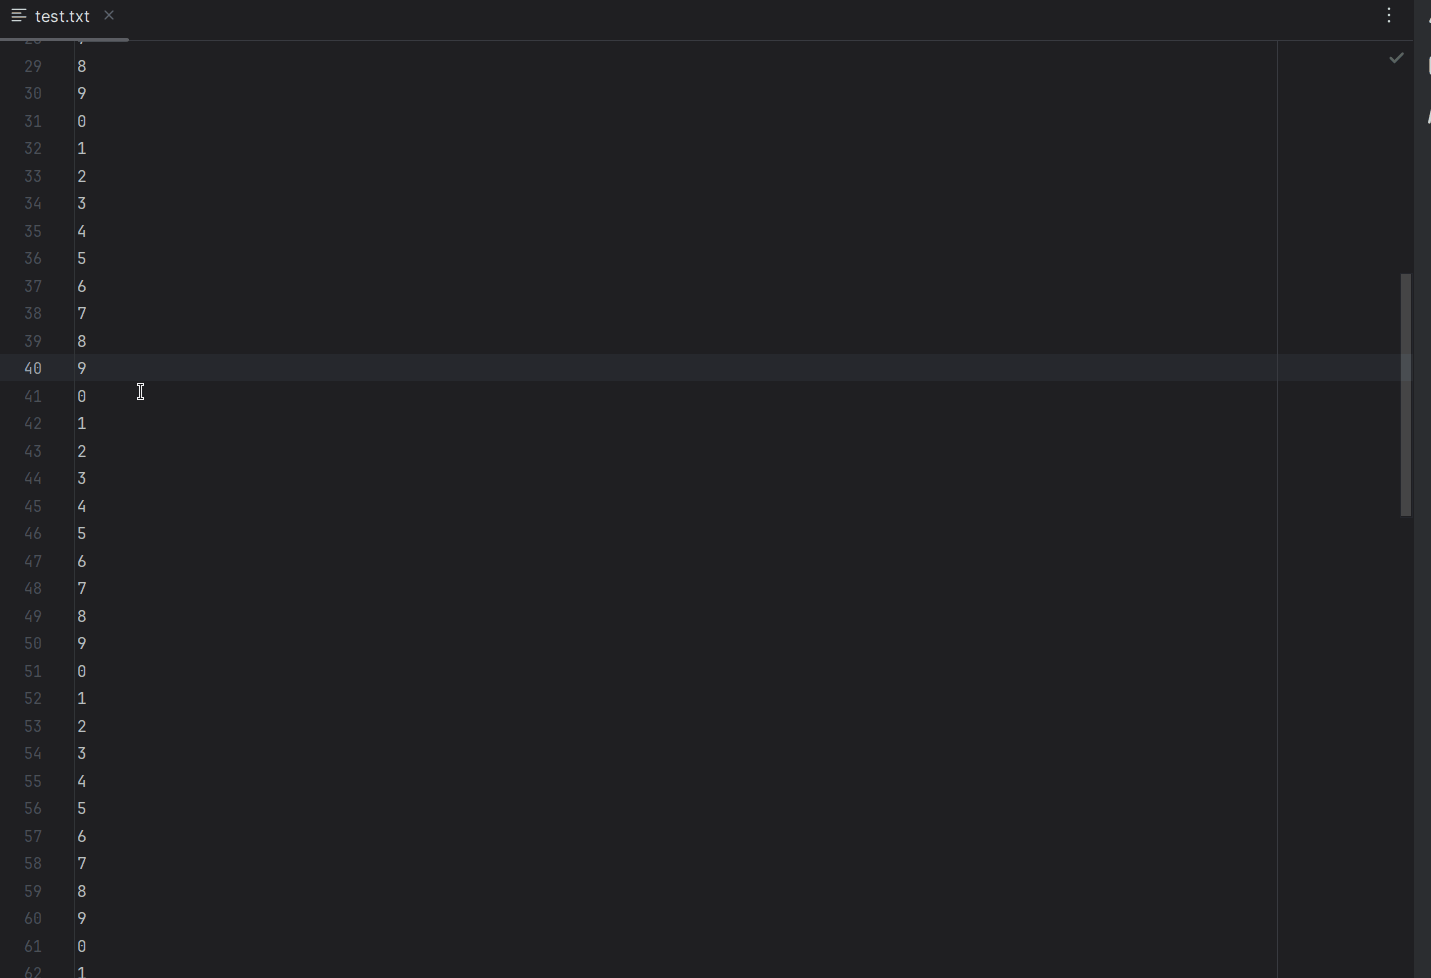
这里可以看到第 3 行开始位置对应的偏移量是 22(20个显示的字符加上两个换行符,空白字符都会被统计)。
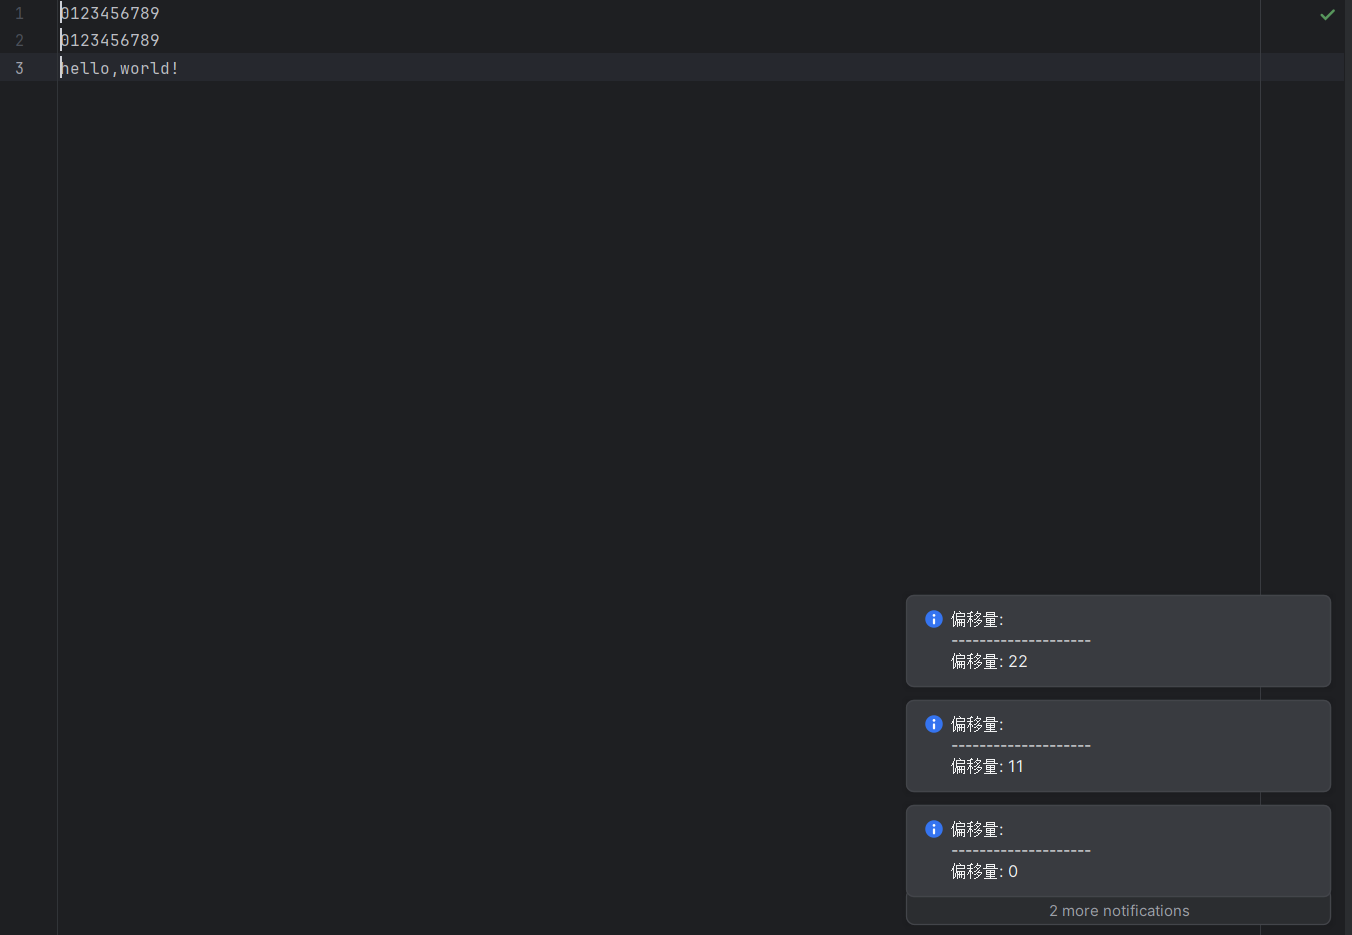
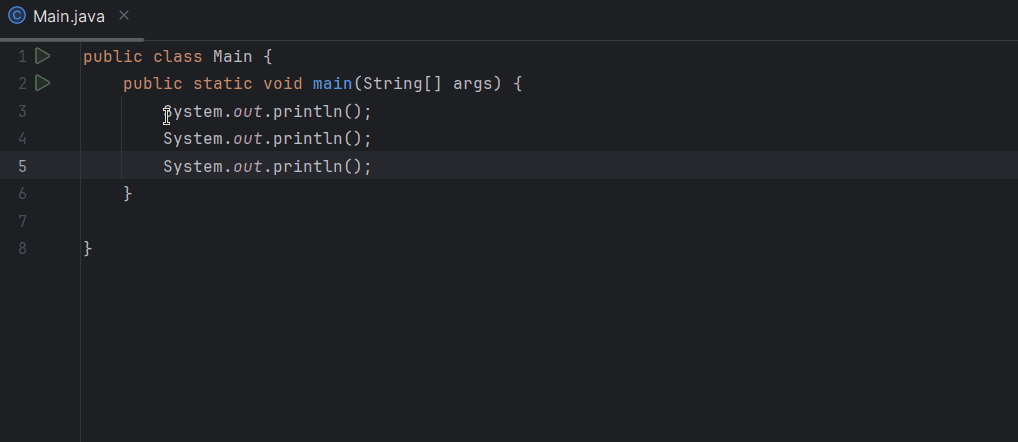
除了单光标,多光标的时候(例如按住 alt 结合鼠标左键进行多行选择),每一个光标的位置也是按照上述规则进行计算:
caretModel.allCarets.forEach { Utils.info("""偏移量:<br/>${"-".repeat(20)}<br/>偏移量: ${it.offset}<br/>""".trimIndent())
}
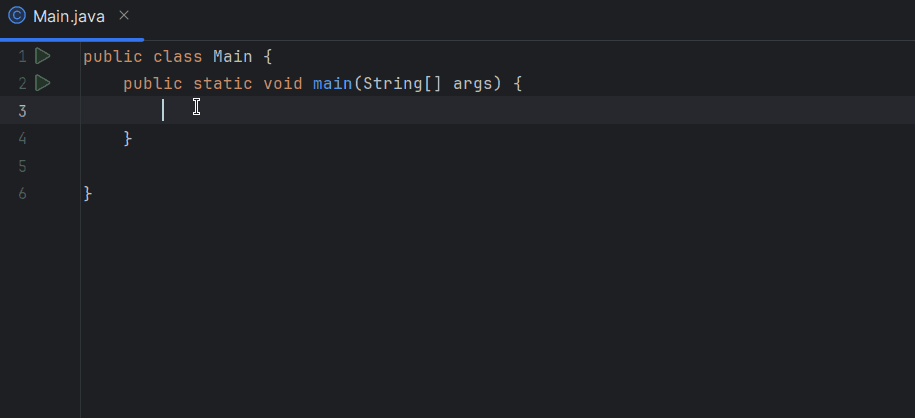
最后以 Doucument 和 CaretModel 结合使用的例子结尾:
// 写操作需要放入 WriteCommandAction.runWriteCommandAction 中
WriteCommandAction.runWriteCommandAction(e.project) {// 插入字符串并移动光标位置到结尾val msg = "庄周de蝴蝶"document.insertString(caretModel.offset, msg)caretModel.moveToOffset(caretModel.offset + msg.length)
}
上述代码实现了在光标处插入指定文本信息并移动光标位置的效果。
InlayModel(嵌入模型)
InlayModel(嵌入模型)用于在代码行中嵌入各种信息,例如下图中msg:就属于嵌入信息,通过使用嵌入信息可以在不改变文本内容的情况下给用户一个直观的提示内容:

除了上面这种使用方式,我们还可以使用 InlayModel 模拟各种 gpt 插件生成代码的效果,代码及效果如下(使用到了 caretModel 中的偏移量和视觉位置等内容):
// 清除所有嵌入信息
val inlayModel = editor.inlayModel
inlayModel.getInlineElementsInRange(0, editor.document.textLength).forEach { Disposer.dispose(it) }
inlayModel.getBlockElementsInRange(0, editor.document.textLength).forEach { Disposer.dispose(it) }
// 分别增加单行和多行嵌入信息
val offset = caretModel.offset
val column = caretModel.visualPosition.column
inlayModel.addInlineElement(offset, DemoRender(editor, "庄周de蝴蝶"))
inlayModel.addBlockElement(offset, InlayProperties(),DemoRender(editor, mutableListOf("first line", "second line", "third line"), column.toFloat()))
// 移动光标位置到初始位置
caretModel.moveToVisualPosition(VisualPosition(caretModel.visualPosition.line, column))class DemoRender<T>(private val editor: Editor,private val renderText: T,private var wordCount: Float = 0f
): EditorCustomElementRenderer {// 设置字体private val font = Font("Microsoft YaHei", Font.ITALIC, editor.colorsScheme.editorFontSize)override fun calcWidthInPixels(p0: Inlay<*>): Int {// 获取渲染内容的宽度, 如果是多行文本则取最长文本行的宽度return when (renderText) {is String -> calcTextWidth(renderText)is MutableList<*> -> renderText.maxOfOrNull { calcTextWidth(it.toString()) } ?: 0else -> 0}}override fun calcHeightInPixels(inlay: Inlay<*>): Int {// 获取渲染内容的高度, 如果是多行文本则需要将行高乘以行数return when (renderText) {is MutableList<*> -> super.calcHeightInPixels(inlay) * renderText.sizeelse -> super.calcHeightInPixels(inlay)}}override fun paint(inlay: Inlay<*>, g: Graphics, targetRegion: Rectangle, textAttributes: TextAttributes) {val g2 = g.create() as Graphics2DGraphicsUtil.setupAAPainting(g2)textAttributes.foregroundColor = JBColor.GRAYval lineHeight = editor.lineHeight.toDouble()val fontBaseline = ceil(font.createGlyphVector(getFontMetrics().fontRenderContext, "中文").visualBounds.height)val linePadding = (lineHeight - fontBaseline) / 2.0val offsetX = targetRegion.xval offsetY = targetRegion.y + fontBaseline + linePaddingval lineOffset = 0g2.font = fontg2.color = JBColor.GRAYwhen (renderText) {is String -> {g2.drawString(renderText, offsetX.toFloat(), (offsetY + lineOffset).toFloat())}is MutableList<*> -> {// 多行文本渲染的时候设置缩进val tabSize = editor.settings.getTabSize(editor.project)val startOffset = calcTextWidth("Z") * (wordCount + tabSize)renderText.forEach {g2.drawString(it.toString(), startOffset, (offsetY + lineOffset).toFloat())g2.translate(0.0, lineHeight)}}else -> return}g2.dispose()}private fun calcTextWidth(text: String): Int {return getFontMetrics().stringWidth(text) }private fun getFontMetrics(): FontMetrics {val editorContext = FontInfo.getFontRenderContext(editor.contentComponent)val context = FontRenderContext(editorContext.transform, AntialiasingType.getKeyForCurrentScope(false), editorContext.fractionalMetricsHint)return FontInfo.getFontMetrics(font, context)}
}
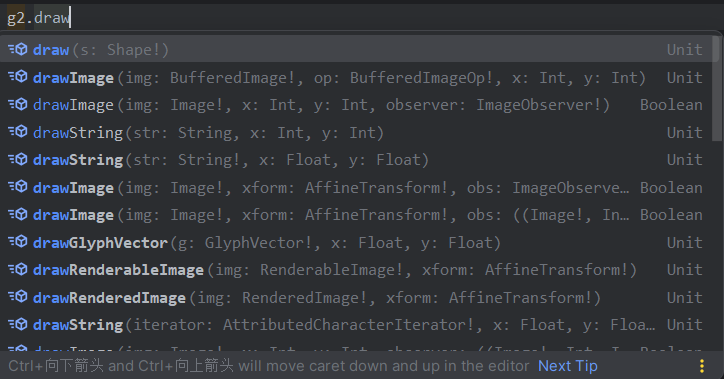
这里需要知道 addInlineElement 用于添加单行的嵌入信息,addBlockElement 用于添加多行嵌入信息,渲染内容需要实现 EditorCustomElementRenderer 类中的 paint 方法即可。通过使用 Graphics2D 对象,我们可以添加文本,图形甚至是图片信息,这里就不再逐一介绍。
SoftWrapModel(自动断行模型)
SoftWrapModel(自动断行模型)主要用于获取自动断行相关信息,其包含的方法较少,也很少会用到,简单了解即可,如下是一个简单的使用及效果:
val softWrapModel = editor.softWrapModel
Utils.info("""是否开启自动断行: ${softWrapModel.isSoftWrappingEnabled}<br/>当前行是否存在自动断行: ${softWrapModel.getSoftWrapsForLine(caretModel.offset).isNotEmpty()}<br/>
""".trimIndent())
MarkupModel(标记模型)
MarkupModel(标记模型)主要用于用于将指定行(或者某个区间)设置为高亮,下面直接展示其使用方式和效果,很容易理解和使用:
val markupModel = editor.markupModel
markupModel.removeAllHighlighters()
// 设置当前行为红色高亮背景
val lineAttr = TextAttributes()
lineAttr.backgroundColor = JBColor.RED
val line = caretModel.logicalPosition.line
markupModel.addLineHighlighter(line, HighlighterLayer.ERROR, lineAttr)// 设置指定范围为绿色高亮背景
// 最后一个参数指定为 HighlighterTargetArea.EXACT_RANGE 则为精确范围
// 指定为 HighlighterTargetArea.LINES_IN_RANGE 则会将偏移量所在的整行都进行设置
val rangeAttr = TextAttributes()
rangeAttr.backgroundColor = JBColor.BLUE
markupModel.addRangeHighlighter(0, 6, HighlighterLayer.SELECTION, rangeAttr, HighlighterTargetArea.EXACT_RANGE)

SelectionModel(选中模型)
SelectionModel(选中模型)用于处理编辑器中文本选中相关的操作,下面是一个简单的使用样例:
// 先移除所有文本选中, 然后将偏移量为 0 ~ 6 的内容进行选中
val selectionModel = editor.selectionModel
selectionModel.removeSelection(true)
selectionModel.setSelection(0, 6)
Utils.info("""选中的文本内容: ${selectionModel.selectedText}<br/>选中文本的开始和结束位置: (${selectionModel.selectionStart}, ${selectionModel.selectionEnd})<br/>
""".trimIndent())
FoldingModel(折叠模型)
FoldingModel(折叠模型)用于对代码块进行折叠操作,通过结合 SelectionModel,可以很方便地对选中的文本进行折叠,下面是使用方式及效果:
val selectionModel = editor.selectionModel
val foldingModel = editor.foldingModel
// 批量折叠操作需要放在 runBatchFoldingOperation 中
foldingModel.runBatchFoldingOperation {// 移除所有的折叠foldingModel.allFoldRegions.forEach { foldingModel.removeFoldRegion(it) }// 对选中文本进行折叠并设置显示的提示文本foldingModel.addFoldRegion(selectionModel.selectionStart, selectionModel.selectionEnd, "庄周de蝴蝶")
}
IndentsModel(缩进模型)
IndentsModel(缩进模型)用于获取文本中的缩进信息,使用方式也很简单,如下所示:
val indentsModel = editor.indentsModel
val guide = indentsModel.caretIndentGuide ?: return
Utils.info("""缩进级别: ${guide.indentLevel}<br/>开始行: ${guide.startLine + 1}<br/>结束行: ${guide.endLine + 1}<br/>
""".trimIndent())
ScrollingModel(滚动模型)
ScrollingModel(滚动模型)可以用于获取编辑器的可视区域范围以及执行滚动操作,使用方法如下:
val scrollingModel = editor.scrollingModel
scrollingModel.scrollToCaret(ScrollType.CENTER)
scrollingModel.runActionOnScrollingFinished {scrollingModel.visibleArea.let {Utils.info("""可视区域左上角坐标: (${it.x}, ${it.y})<br/>可视区域宽度: ${it.width}<br/>可视区域高度: ${it.height}<br/>""".trimIndent())}
}
编辑器事件
在第三篇文章中我们简单了解了 IntelliJ 中的事件监听,当时只介绍了项目的启用与关闭事件,这里再简单介绍一下关于编辑器的事件。
EditorActionHandler
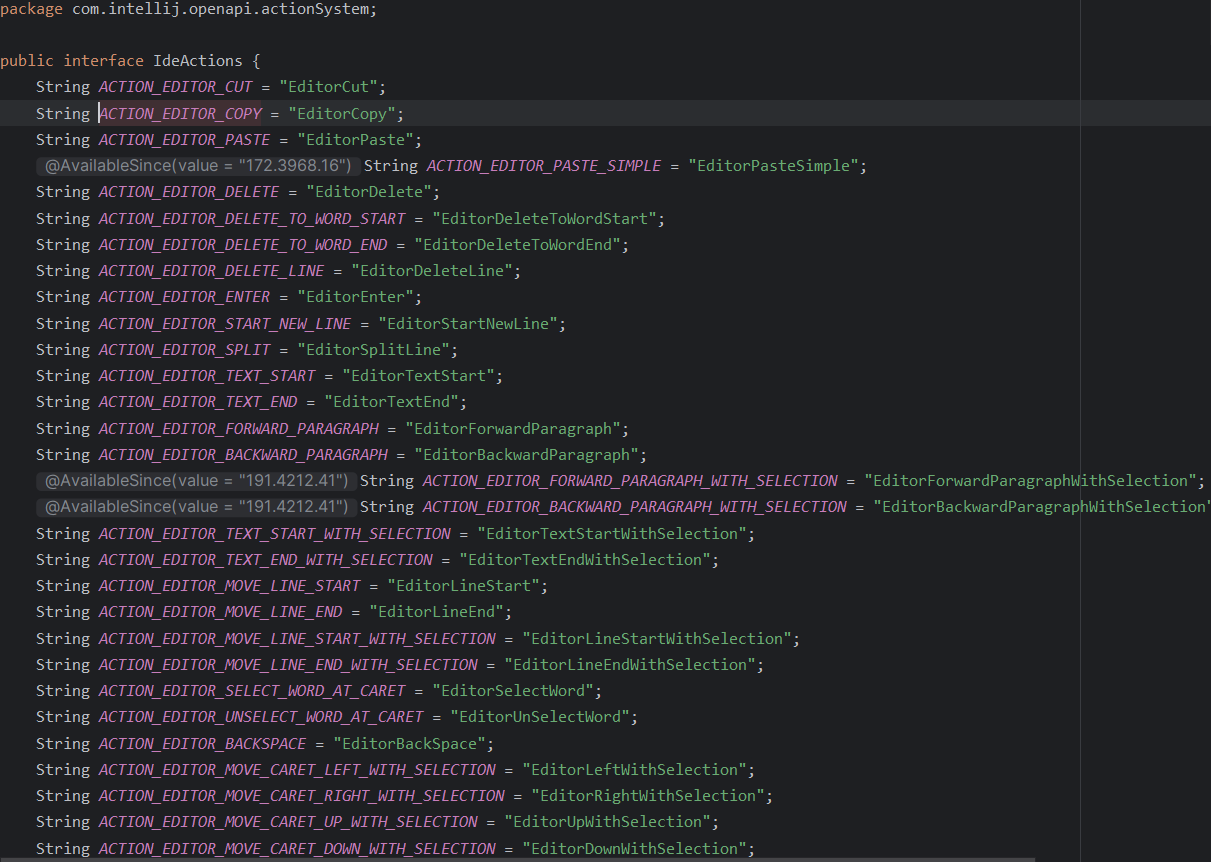
IntelliJ 平台默认为我们提供了一些编辑器事件,例如复制、粘贴等,可以在IdeActions类中看到:
相应地,使用方式也很简单,只需要实现 EditorActionHandler 类重写其中的 doExecute 方法即可,下面代码展示了对编辑器的复制事件进行监听并提示:
class EditorCopyListener: EditorActionHandler(), ProjectActivity {override suspend fun execute(project: Project) {// 注册复制监听EditorActionManager.getInstance().setActionHandler(IdeActions.ACTION_EDITOR_COPY, this)}override fun doExecute(editor: Editor, caret: Caret?, dataContext: DataContext?) {// 将选中的文本加入到粘贴板中, 这里使用前文中提到的 selectionModeleditor.selectionModel.copySelectionToClipboard()// 显示复制文本Messages.showInfoMessage("Copy text: ${CopyPasteManager.getInstance().getContents<String>(DataFlavor.stringFlavor)}", "Copy")}
}
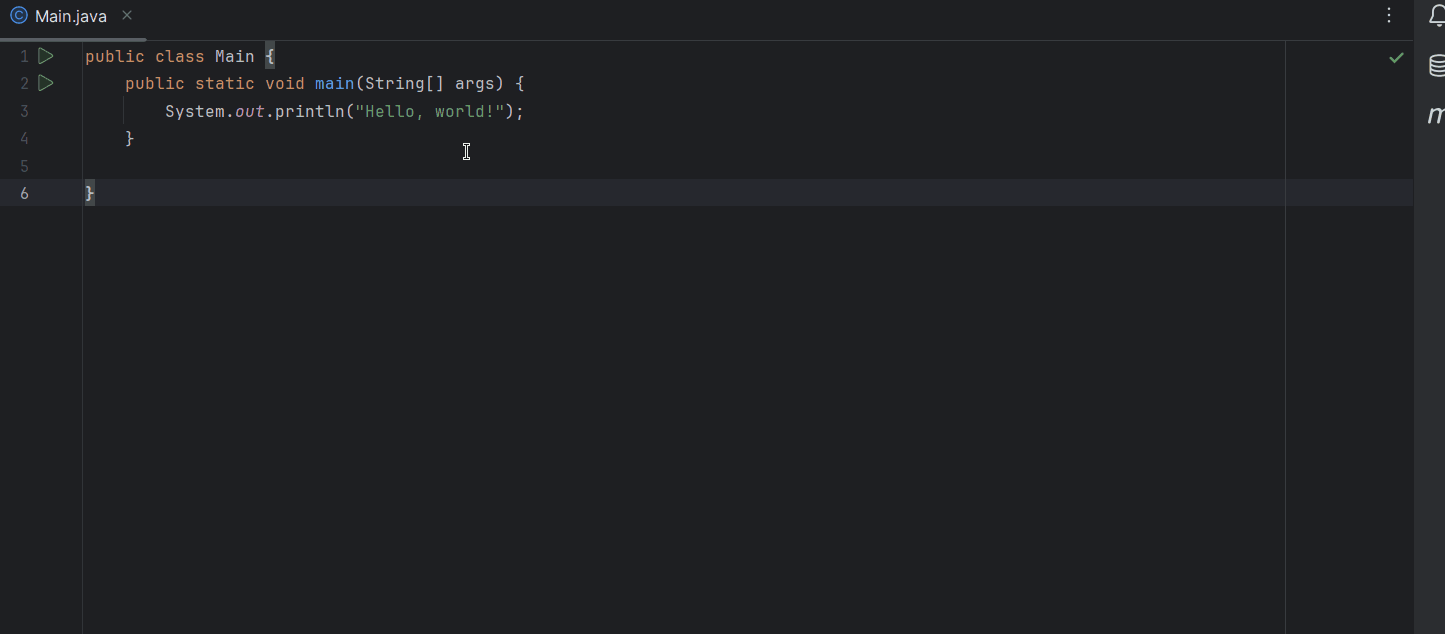
这里需要注意的是,在重写了编辑器的事件后(这里是复制事件),则该事件就不再生效了,因此这里通过editor.selectionModel.copySelectionToClipboard()这行代码手动了复制的操作,在重写其它编辑器事件的时候也需要注意这个问题。
TypedHandlerDelegate
除了使用 IntelliJ 中已经定义好的事件,还可以通过实现 TypedHandlerDelegate 来对键盘中输入的字符进行监听(无法监听空白字符,例如回车、TAB等,也无法在出现编码提示时进行监听):
class KeyboardListener: TypedHandlerDelegate() {override fun charTyped(c: Char, project: Project, editor: Editor, file: PsiFile): Result {Messages.showInfoMessage("Input character: $c", "Input")return Result.CONTINUE}}
同时需要在plugin.xml中进行配置:
<extensions defaultExtensionNs="com.intellij"><typedHandler implementation="cn.butterfly.vfs.listener.KeyboardListener"/>
</extensions>
总结
本文主要介绍了关于 VFS 和编辑器相关的知识,其中编辑器相关的内容则需要重点关注,这是开发各类插件都离开的东西,毕竟我们开发的插件大多都要和编辑器里的代码打交道,同时如果有错误之处,也欢迎一起交流讨论。
题外话
本来准备下篇文章就开始介绍关于 PSI 的知识,不过想一下还是决定先写一篇在第三篇文章中提到的关于内部工具(能极大提升初学者开发插件的效率,我个人是这么认为的)使用的文章,然后再继续介绍关于 PSI 的内容。